I guess you could say that we've been transitioning baby girl's bedroom from nursery to "big girl" room for about 4 years. Somehow, I moved the "big girl" furniture in and never got the room decorated. It literally bothers me every time I walk by, so I finally made the decision to surprise her for Christmas with a room makeover. The challenge? The challenge was creating a new room with no money. In the end, it worked and here's how...my amazing mom and a whole heck of a lot of DIYing!
Now, where to start? I wanted the new room to be something that MC would love but that I could live with as well. When I asked her about 6 months ago, if she could choose anything to decorate her room with, what would it be, she told me, "I want princesses on the wall, with Mickey Mouse, and unicorns." Ok, NO, just no! I also wanted it to be a room that she could grow in to, meaning, if I don't get around to changing this out for another 5 years, will it still be legit?
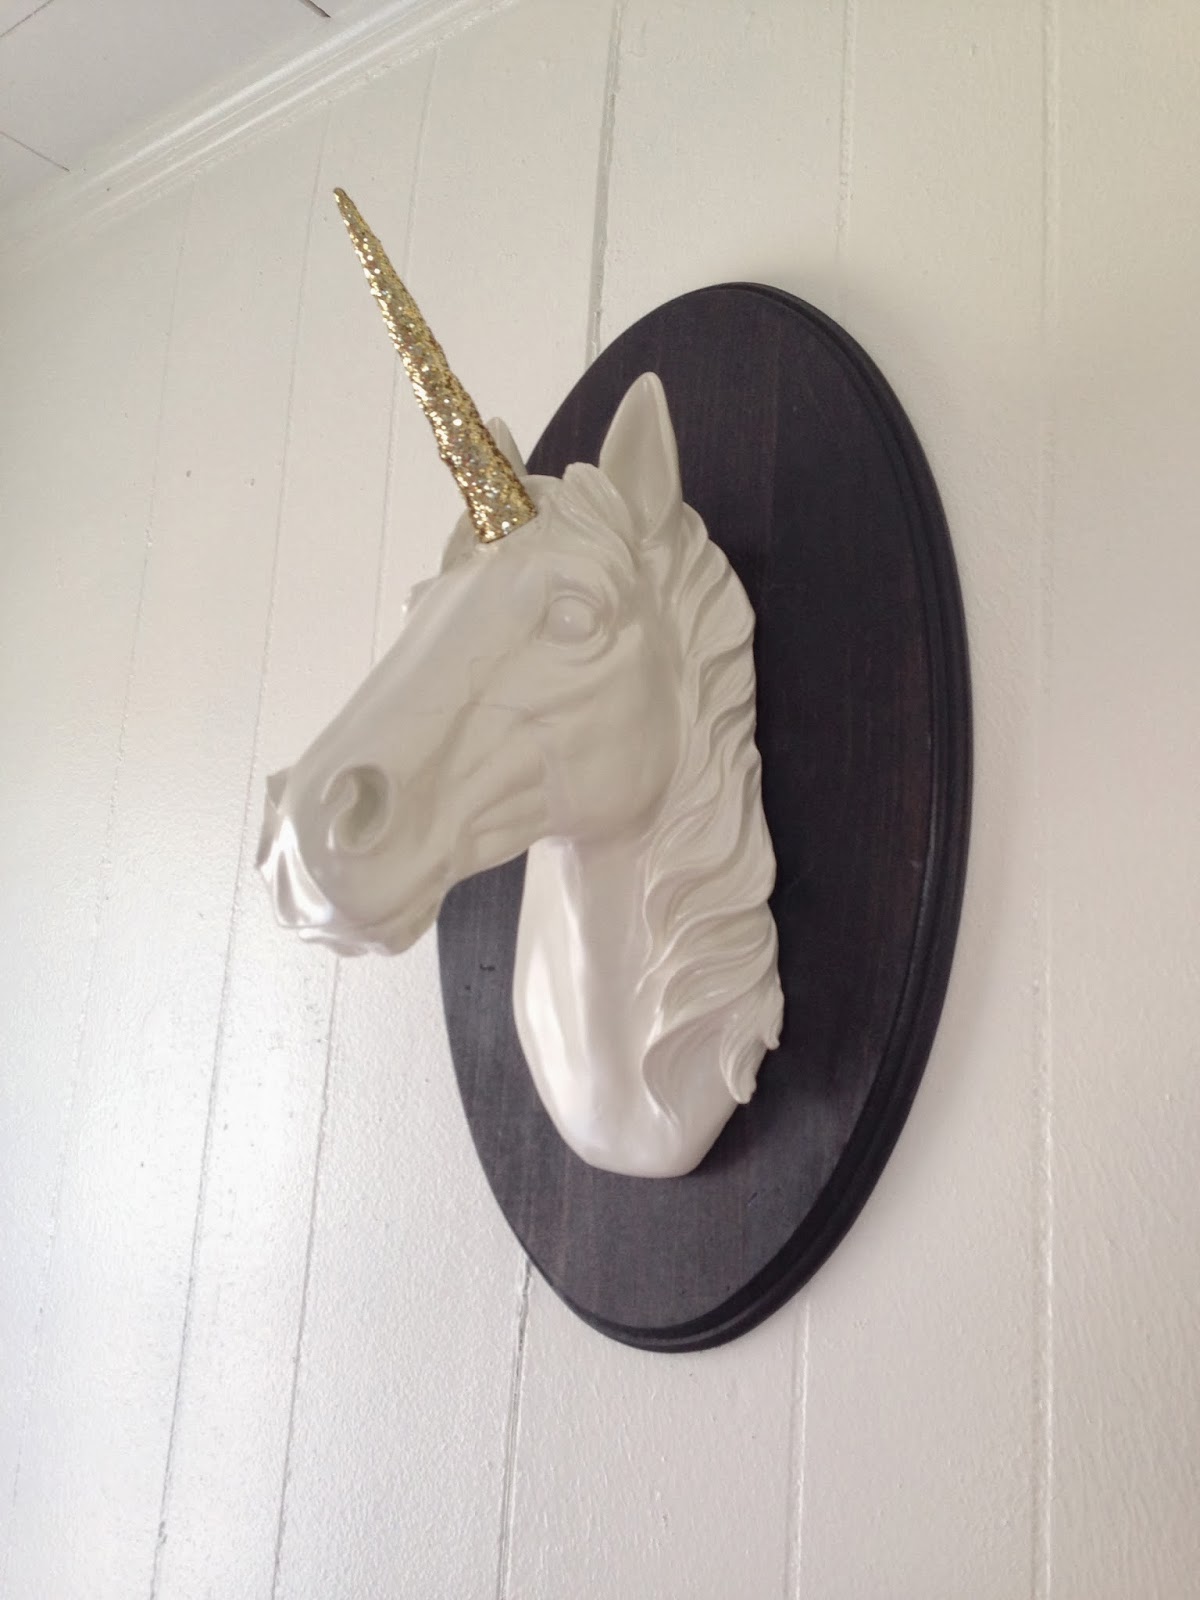
She is obsessed with unicorns. When I think of unicorns, I think of rainbows and a whole lot of tacky, but when I was scrolling through the Pottery Barn website for inspiration (and I mean inspiration only, that place is WHOA expensive), I found a wall mounted unicorn head that was perfect. Naturally my first thought, and most likely yours too, is where do you go to catch unicorns to get that trophy head? After much "googling" for unicorn hunting grounds, I decided that I would stick with one that someone else had already caught. I found a "less expensive than PB" unicorn head on Etsy.
I also needed a color scheme, so obviously I went to Pinterest and found exactly what I was looking for. I took a photo that I found of a gold polka dot wall with a coral dresser and used it for "pinspiration." Those were going to be our colors: gold, vintage white, coral, and black.
As I mentioned before, most everything in the room is DIY, so if you see something that you would like more details on, just leave me a comment below and I will share. So, now for the photos...
The gorgeous furniture was given to my family years ago by some friends that were moving away and it was absolutely perfect for my sweet girl, it just needed to be refinished. Not sure if you've ever refinished furniture before, but it ain't a "walk in the park!"
When the unicorn head came in, it was bit smaller than I imagined, so I added the back piece of wood to give it a little more personality.
I love that Matthew's grandmother, GBo, crocheted this throw for us for Christmas and it just so happened to be the exact colors we were using and it added something so special to the room.
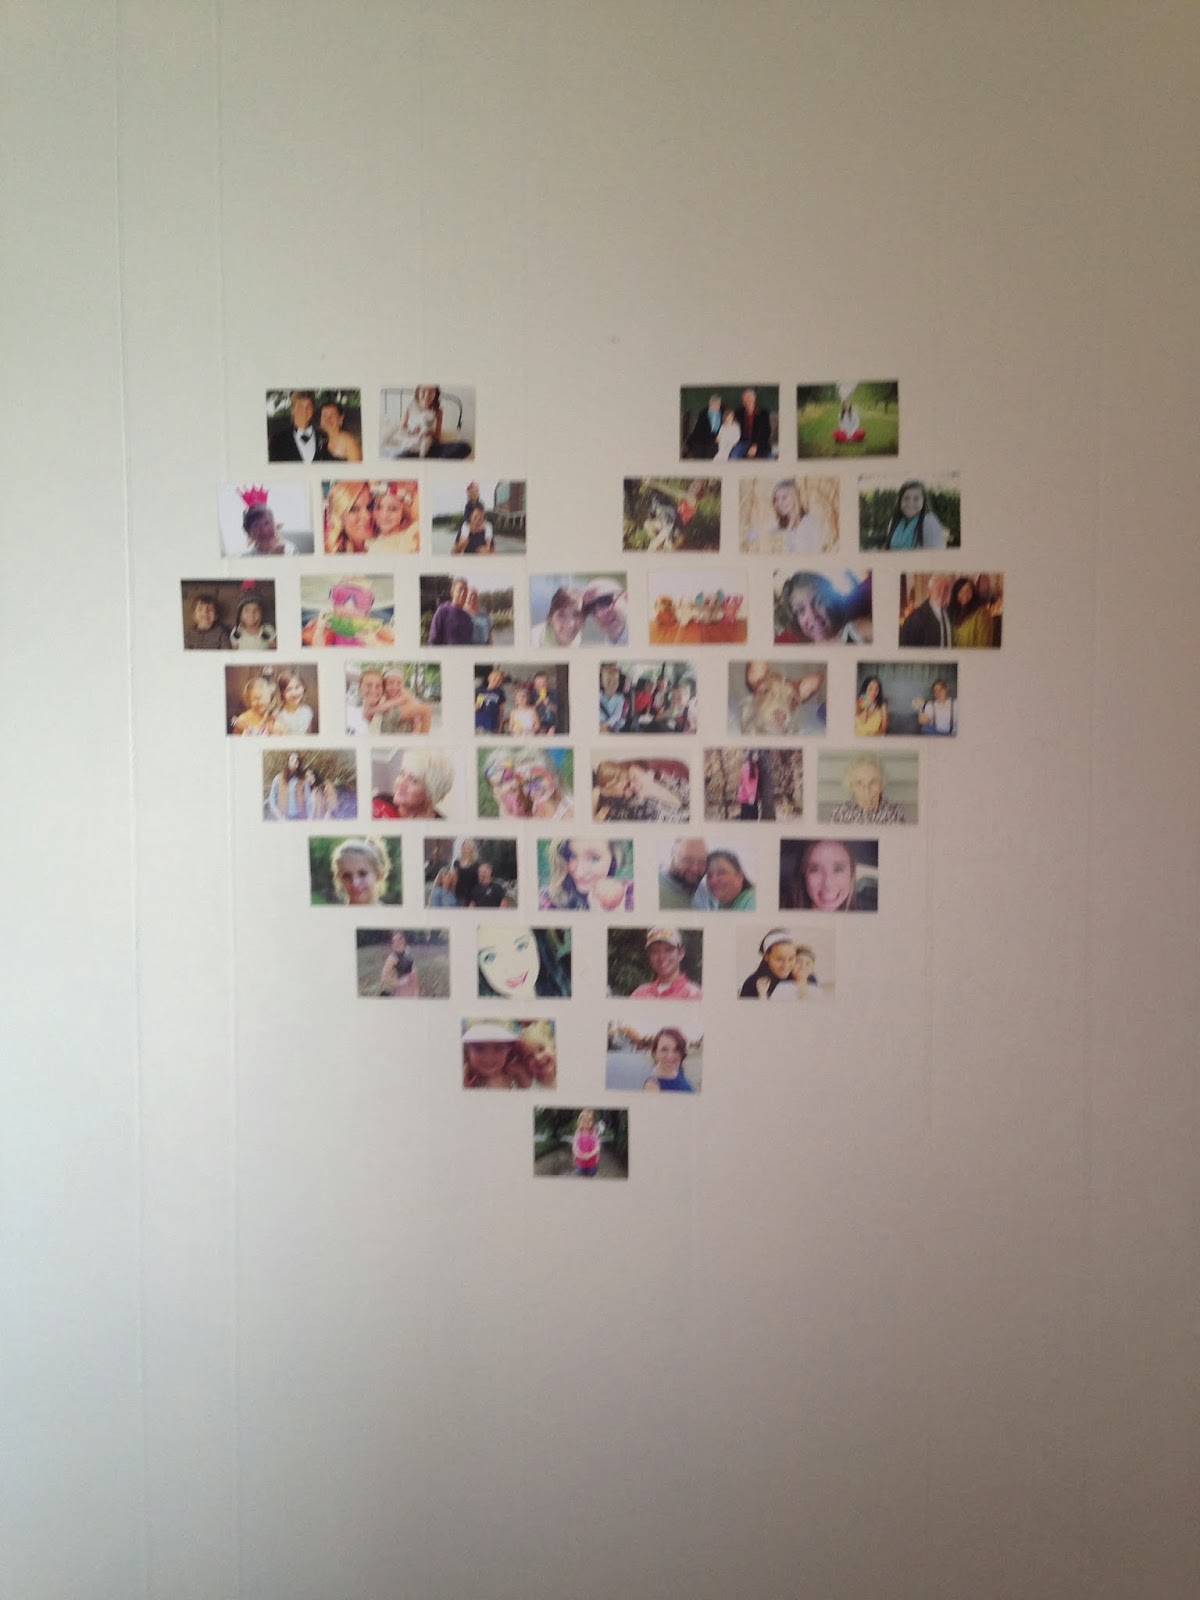
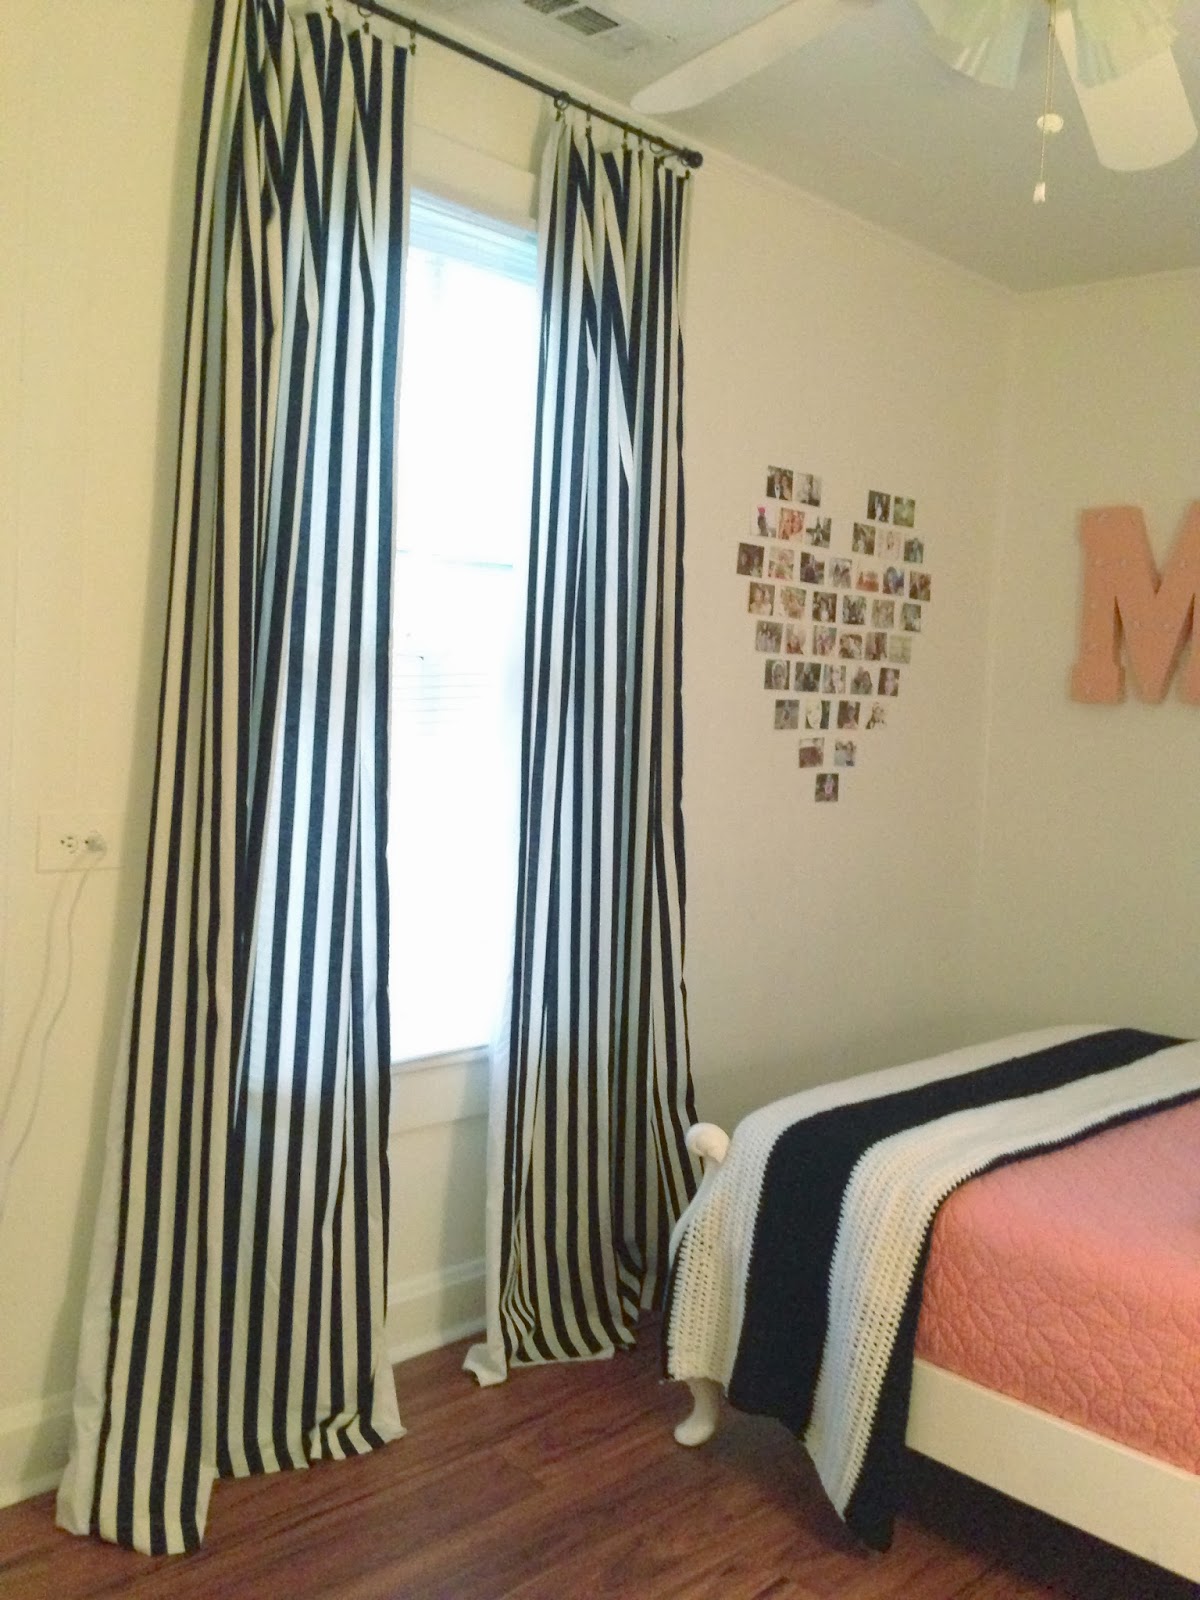
The heart wall was another idea that I pulled from Pinterest. I wanted MC to have photos of her family and friends without having to purchase frames. At five years old, excuse me, five AND a half years old, "friends" come and go, so Matthew mentioned the idea of using Velcro so that we could change the photos if needed. I am so thankful for a smart husband!
Look closely, maybe you made it on to the wall! :)
I call these the "Night Lights!" MC is scared of the dark, I mean, let's be honest, who isn't? I have a deep love for Marquee lights, so I got the idea when I found the initials on the clearance aisle at Hobby Lobby to put her name in lights. The initials are huge, and they are hollow on back so they worked perfectly! Matthew drilled holes and I bought battery operated Christmas lights so that there would be no cords showing. My OCD couldn't have handled cords.


Ok, the polka dots...I literally almost talked "ugly" several times throughout this process but I was determined that baby girl was going to have some sparkle dots on her wall. I found some solid gold vinyl wall decals at Land of Nod, but for the amount of dots I needed, we couldn't afford them. They would've been so easy, but instead, I got 50% off scrapbook sheets of gold glitter heavy paper from Hobby Lobby and used it as wallpaper. I used my hand-me-down die cutting machine that my sister gave me to cut the circles exactly the size I wanted.
I really wanted a coral piece of furniture like I originally saw in my room inspiration photo, but a dresser wouldn't fit in the room with the other pieces, so I found this little storage cabinet at Target for CHEAP and painted it and spray painted the handles. It now holds one zillion stuffed animals, MC's "babies!"
Curtains were made by the most talented human being in the entire world, my momma. We used Riley Blake black/cream striped fabric, and by "we," I mean, "she!"
Literally, I would have a chalkboard in every room if I could, wait, I do have a chalkboard in almost every room! I am a little particular with the chalkboards in the other rooms, so I thought that MC needed one that she could use for her creativity. This is before she got ahold of it. (ps. her daddy means that with all of his heart!)
This pillow is another DIY inspired by a pillow from Pottery Barn. I purchased the pillow from Walmart for $3 and used heat transfer and cut out the unicorn using a pattern that I created, ironed the transfer on, and BOOM, a WAY less expensive way to have a PB pillow.
MC has a tiny bathroom in her room, so it needed a touch too. The coral frame was previously a mirror that Matthew and I received as a wedding gift. The mirror part broke but the frame was too beautiful to trash so it got a little paint and a quote inside..."Always be yourself unless you can be a unicorn." The stool is one that I "borrowed" from my mom's house and by, "borrowed," I mean, I took it and painted it and it isn't going back.
Obviously, this is a great reminder for us all. (Same scrapbook paper and diecutting machine was used to create the letters as was used for polka dots)
 Of course, my mom made the shower curtain to match the bedroom curtains. What do you do when you don't quite have enough fabric to finish the project...you put a solid black band of fabric in the middle. I had every intention of getting the solid part monogrammed, but it most likely will be just like this forever and I'm ok with that.
After all of that blood, sweat and tears, on Christmas Day, when we opened the bedroom door for her to finally see, she was most excited about...wait for it, wait for it...the $0.15 goldfish. (Goldfish names: Goldie & Polka Dot, I believe that she may have used her wall in front of her as inspiration for the fish names.)
If you have any questions about paint colors, DIY details, etc., just leave a comment below. :)